Solve printing problems on Mac
If you’re having trouble printing, first try these suggestions:
If your printer is connected to your Mac, make sure the printer cable is firmly connected, and the printer is plugged into an electrical outlet, and turned on.
If the printer is on the network, make sure your Mac and the printer are still on the same network, the printer is turned on, and the network isn’t experiencing problems. If the network has multiple printers, check which printer you chose—it may be different from the one you think you chose.
If you use a shared printer connected to another Mac, make sure the Mac has macOS 10.5 or later installed, isn’t in sleep, and has sharing turned on. See Share your printer.
If your printer is connected to your computer’s USB port, check the System Report to see that it has an active connection. Press and hold Option, then choose Apple menu

If you still can’t print, see the additional troubleshooting information below.
Try to resume printing
On your Mac, click the Print Center icon in the Dock to open the printer’s queue window.
Do any of the following:
If you see
 in the toolbar, the printer is paused. Click the button to resume printing.
If another job is holding up the queue because of an error, select that job, then click
 .
.If an individual print job in the list is paused, select it, then click
 on the right.
If you don’t see your print job in the printer’s queue, you may have printed to a different printer. Check the queue in the Print Center for other printers, or try printing again, making sure you choose the correct printer.
Try to print from another app
Try printing from another app, such as TextEdit. If the problem occurs only in one app, review that app’s documentation for further troubleshooting information.
Turn off Print Dialog Extensions
Some printer software and apps use Print Dialog Extensions (PDEs) to make custom print options and dialogs available when you print. If you experience printing problems with software that uses PDEs, you can turn the use of PDEs off for that printer.
Choose Apple menu

 in the sidebar. (You may have to scroll down.)
Click the printer in the Printers list on the right, click the Options & Supplies button, select the Use Generic Printer Features checkbox, then click OK.
Tip: You can quickly see a printer’s options and supplies using Print Center, which you can find in the Utilities folder. When Print Center is open, select the printer in the sidebar, choose Printer > Printer Info, then click the Options tab or the Supply Levels tab. See Manage printers and print jobs with Print Center.
Check the printer
Go to the printer and check the following:
It’s turned on and is displaying normal status lights.
It has paper, and the paper isn’t jammed.
It has enough ink or toner.
Its cables are properly connected.
Add the printer again to create a new printer queue
On your Mac, if the printer is on the network, choose Apple menu

 in the sidebar. (You may have to scroll down.)
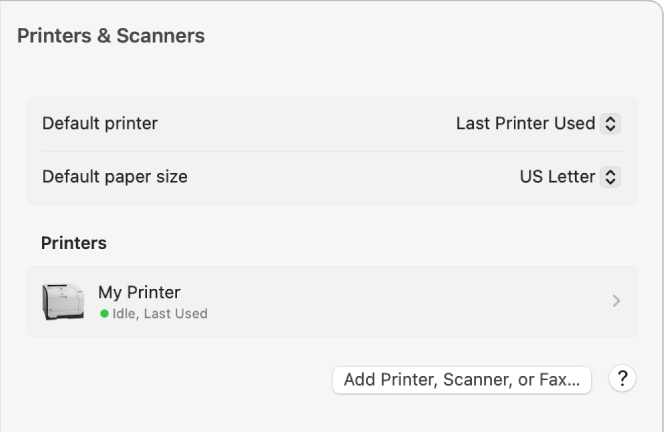
Add the printer to your list of available printers: Click the Add Printer, Scanner, or Fax button on the right. A dialog appears listing printers on your local network. It may take a minute or two for your printer to appear.
If your printer still doesn’t appear in the list, try adding the printer by its IP address (see below).
If you can print to the newly added printer queue, delete the old printer queue.
If you can’t add the printer because it doesn’t appear in the list of available printers, it may be turned off, or your Mac may be on a different network now. If the printer was shared by another user, the user may have stopped sharing it, or the user’s Mac may be offline. If you don’t manage the printer, ask the person who does for help.
Make sure you have the latest software
Make sure you have the correct version of your printer’s software (also called its printer driver). If necessary, install the latest printing software that came with the printer or from the manufacturer’s website. If you’re using a printer that another user is sharing, make sure you’re both using the same version of the printer software.
On your Mac, to find out which version of printer software you’re using, choose Apple menu

 in the sidebar.
Click the printer in the Printers list on the right, then check the Driver version.
Contact the printer manufacturer to see if you have the latest driver version.
If you’re using a network printer or a printer connected to your Mac, make sure you have the latest version of the software for the printer. If you still have problems, try a different version of printer software.
If you’re using an AirPrint-enabled printer, check with your printer’s manufacturer to see if any updates are available for your printer model.
If none of the previous solutions work, the printer’s queue may be corrupted. Try deleting it and setting up your printer again.
If you still can’t print, reset the printing system.
