Create a calendar
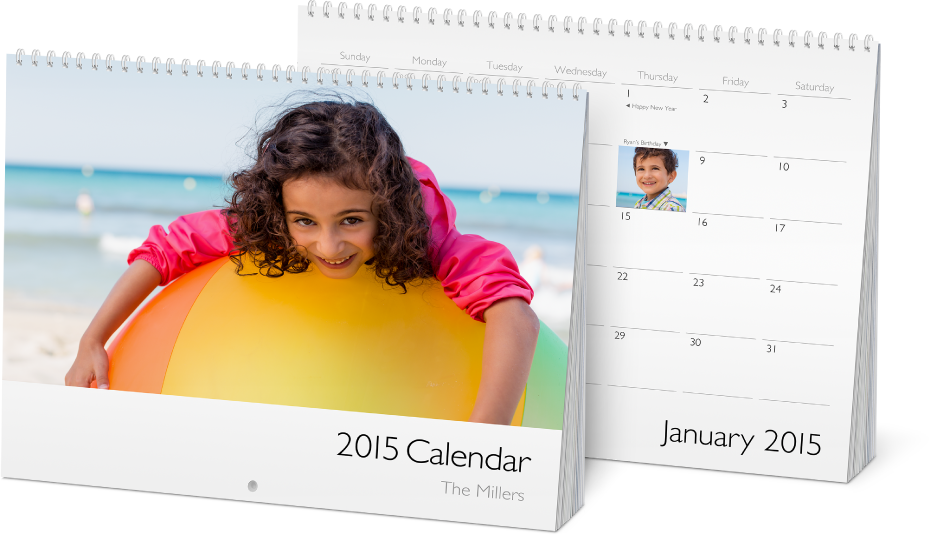
You can use your photos to create professionally designed calendars and have them sent to family and friends.

It’s easy to create a calendar: select the photos you want, pick a starting date and a theme, and then Photos lays out the calendar for you. You can add and remove photos, change the theme, add photos and text to particular dates to commemorate special occasions, and more. When you’re happy with your calendar, you can place your order and have the book sent to family, friends—anyone you want.
Create a calendar
Select one or more photos to use in your calendar.
Choose File > Create > Calendar.
Tip: You can create a calendar without selecting any photos first. Just click
 next to My Projects, and choose Calendar to create an empty calendar that you can add photos to later.
 Choose the number of months you want in the calendar, choose a start date, then click Continue.
Click to select a calendar theme, then click Create Calendar.
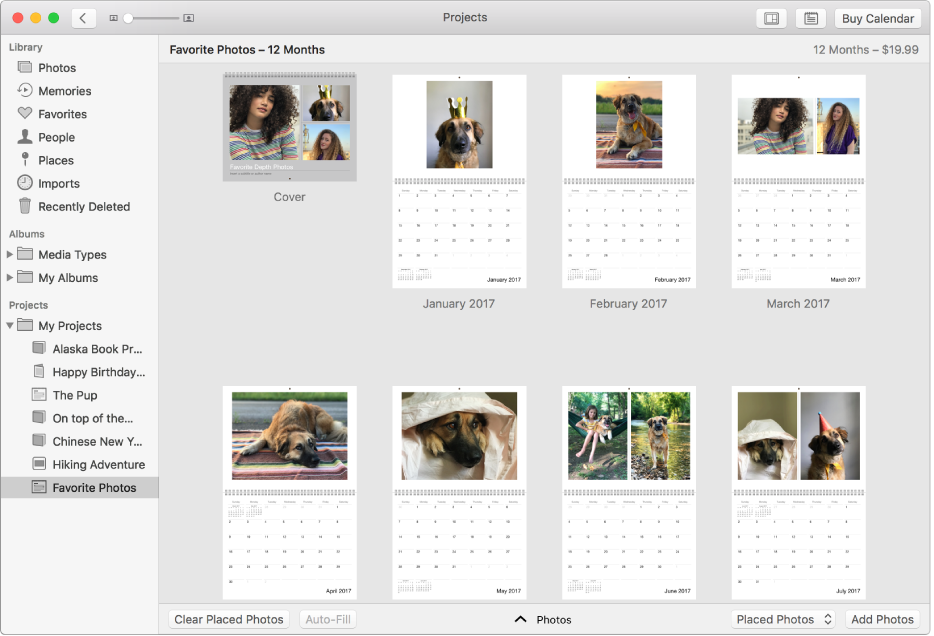
Your calendar appears in the Photos window, with the photos you selected automatically arranged on each calendar page (including the calendar cover). To edit a page, double-click it.

To change your calendar, do any of the following:
Change a calendar’s theme
You can change the overall design of your calendar by choosing a new calendar theme.
Click a calendar under Projects in the sidebar.
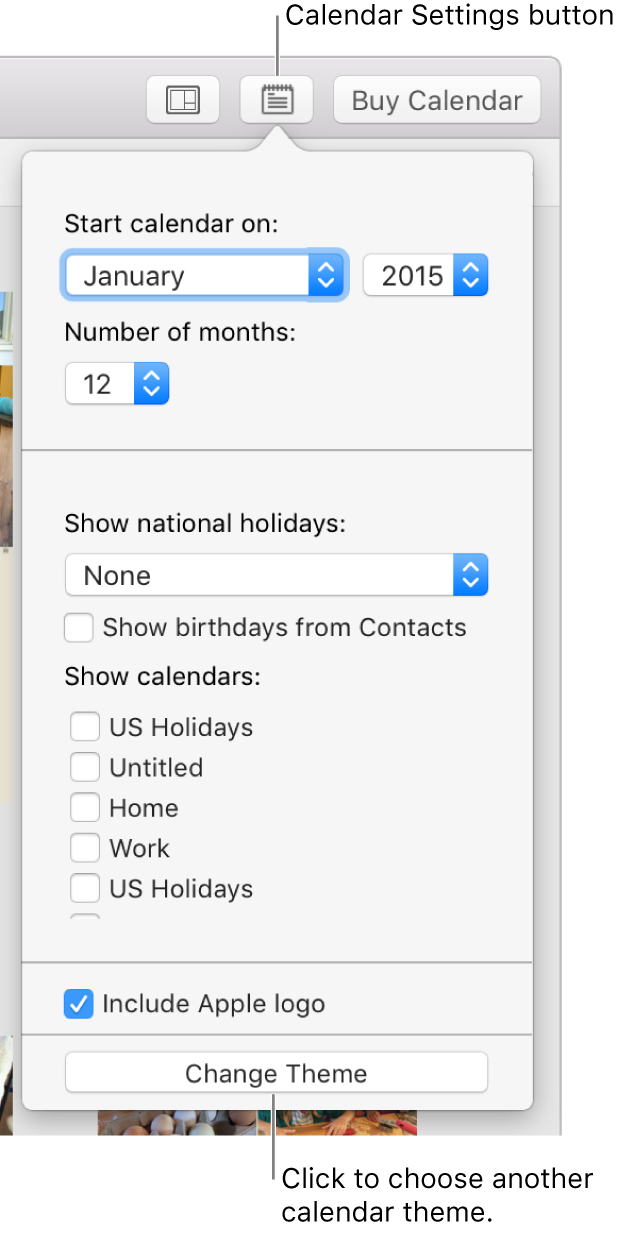
Click the Calendar Settings button
 in the toolbar, click Change Theme, then click Continue.
Select a theme, then click Choose Theme.
Rename a calendar
When you create a calendar, Photos assigns it a name based on information associated with the photos, such as their album name. You can rename the calendar.
Click Projects in the toolbar, then click the name of your calendar to select it.
Type a new name.
Remove the Apple logo from a calendar
With a calendar open, click the Calendar Settings button
 in the toolbar and deselect the “Include Apple logo” checkbox.
