Delete files and folders on Mac
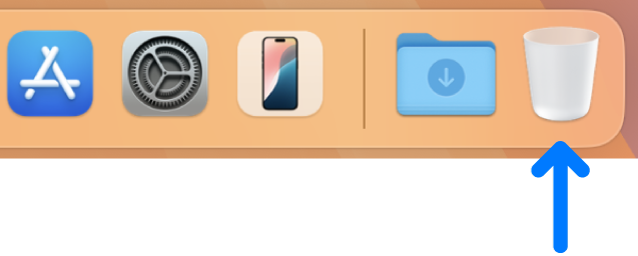
At any time, you can get rid of files, folders, and other items that you no longer need. You start by dragging items to the Trash in the Dock, but the items aren’t deleted until you empty the Trash.

Note: If you turned off Time Machine or haven’t backed up your files recently, you may want to store a backup copy on a storage device, just in case you change your mind and want the item later.
Delete an item from your Mac or iCloud Drive
On your Mac, drag the item to the Trash in the Dock or select the item, then press Command-Delete. If an item is locked, click Continue to confirm you want to move the locked item to the Trash.
To search for and locate files you want to delete, see Narrow your search results.
If an item is locked, you need to confirm you want to move it to the Trash, or unlock the item before putting it in the Trash. To unlock the item first, select it, choose File > Get Info (or press Command-I), then deselect the Locked checkbox. If you’re not logged in as an administrator, you may need to click ![]() to unlock it, then enter an administrator name and password (or use Touch ID or your Apple Watch).
to unlock it, then enter an administrator name and password (or use Touch ID or your Apple Watch).
Empty the Trash
On your Mac, click the Trash icon in the Dock.
In the window that appears, do one of the following:
Empty one item from the Trash: Control-click the item you want to delete, then choose Delete Immediately.
In the warning message that appears, click Delete.
Empty all of the Trash: Click the Empty button in the upper-right corner of the Finder window. You can also click
 in the Dock, then choose Finder > Empty Trash.
In the warning message that appears, click Empty Trash.
Items that you move to the Trash from your Mac remain until you empty the Trash. You can choose to automatically empty the Trash in Finder settings.
WARNING: Any items emptied from the Trash are permanently deleted and are no longer available.
Items that you move to the Trash from iCloud Drive are automatically emptied from the Trash after 30 days, regardless of Finder settings. You can choose to empty the Trash sooner than 30 days. For information about restoring items that you deleted from iCloud Drive, see Use iCloud.com to restore and recover iCloud information in the iCloud User Guide.
Prevent the Trash warning message from appearing
To prevent the Trash warning message from appearing on your Mac, do one of the following:
Once: Press the Option key when you click Empty or choose Empty Trash.
Always: Turn off the warning in the Advanced pane of Finder settings. In the Finder
 , choose Finder > Settings, click Advanced, then deselect “Show warning before emptying the Trash.”
If you change your mind before emptying the Trash
On your Mac, click the Trash icon in the Dock.
Drag the item out of the Trash, or select the item, then choose File > Put Back.
Automatically remove items from the Trash after 30 days
In the Finder
 on your Mac, choose Finder > Settings, then click Advanced.
Select “Remove items from the Trash after 30 days.”
Note: Items that were automatically removed from the Trash are permanently deleted and are no longer available. In case you want a deleted item later, you can create Time Machine backups or store a backup copy on a storage device.
