
Get started with Photos on Mac
Use Photos on your Mac to browse and organize your photo collection and find, perfect, and share your best shots. Here’s how to get started.

Bring photos to your Mac from iCloud
If you use iCloud, turn on iCloud Photos on your Mac, iPhone, and iPad to see your photos on all your devices. In Photos on your Mac, choose Photos > Settings, click iCloud, then select iCloud Photos.
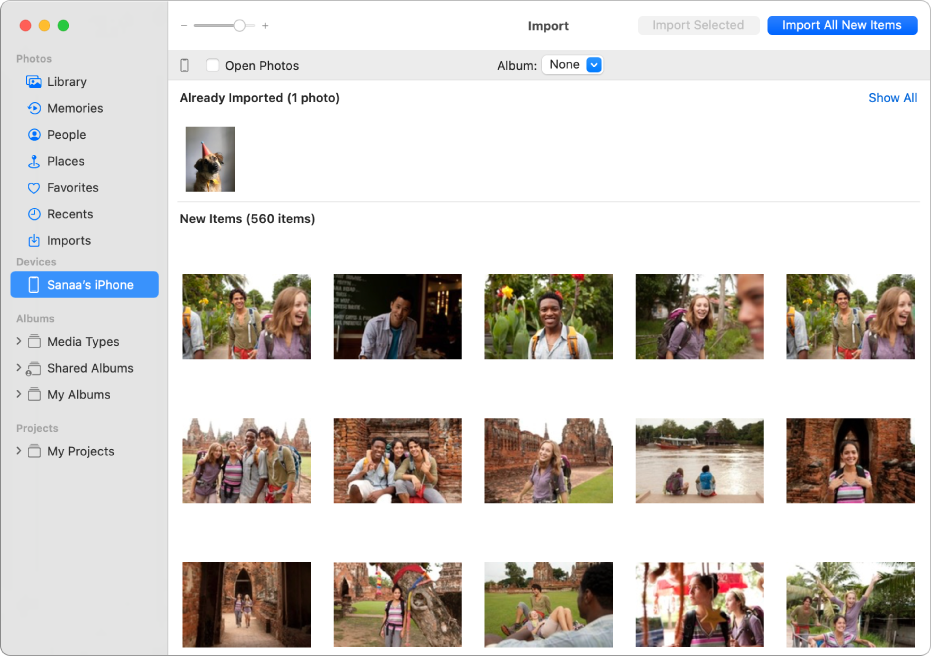
Import photos
You can also import photos from an iPhone, iPad, or camera. With Photos open on your Mac, connect your device or camera and turn it on. If you’re importing from a camera, set it to download photos. Click the device in the sidebar, click the photos you want to import, then click Import [X] Selected.
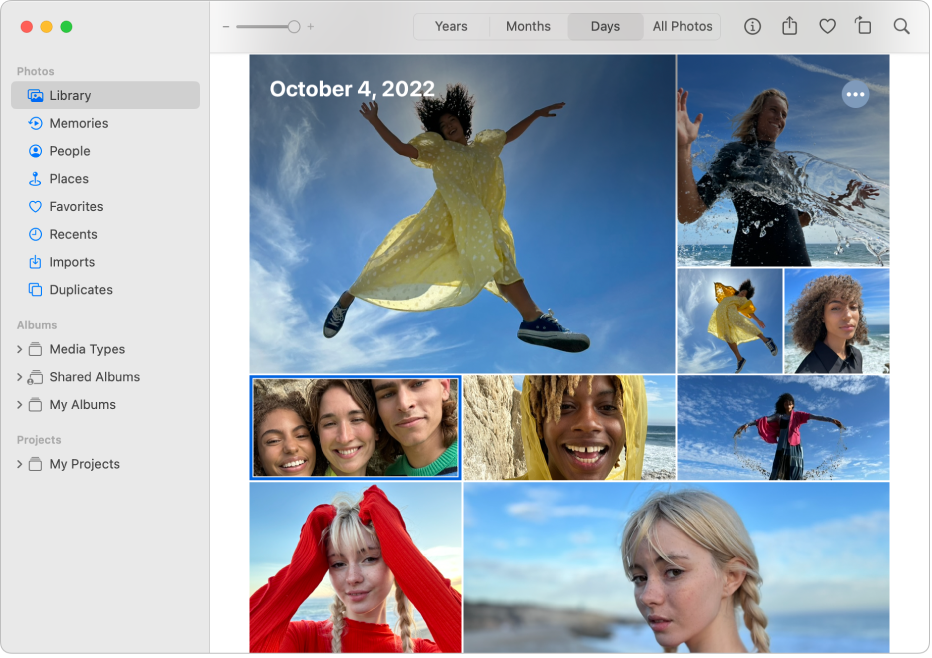
Browse your photos
To browse your photos by when they were taken, click Library in the sidebar, then click Years, Months, or Days in the toolbar—or click All Photos to browse your entire collection. To see photos of specific people or that were taken in specific locations, click People or Places in the sidebar.
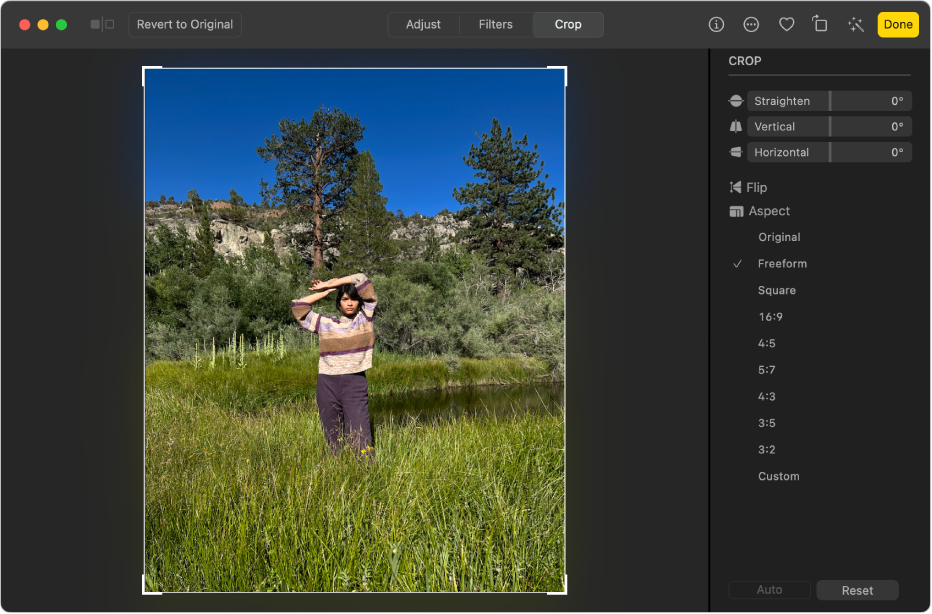
Crop and straighten photos
Crop photos to remove unwanted areas, or straighten photos shot at an angle. Double-click a photo, click Edit in the toolbar, then click Crop. Drag the selection rectangle to enclose the area you want to keep. Drag the Straighten slider to adjust the photo’s angle.
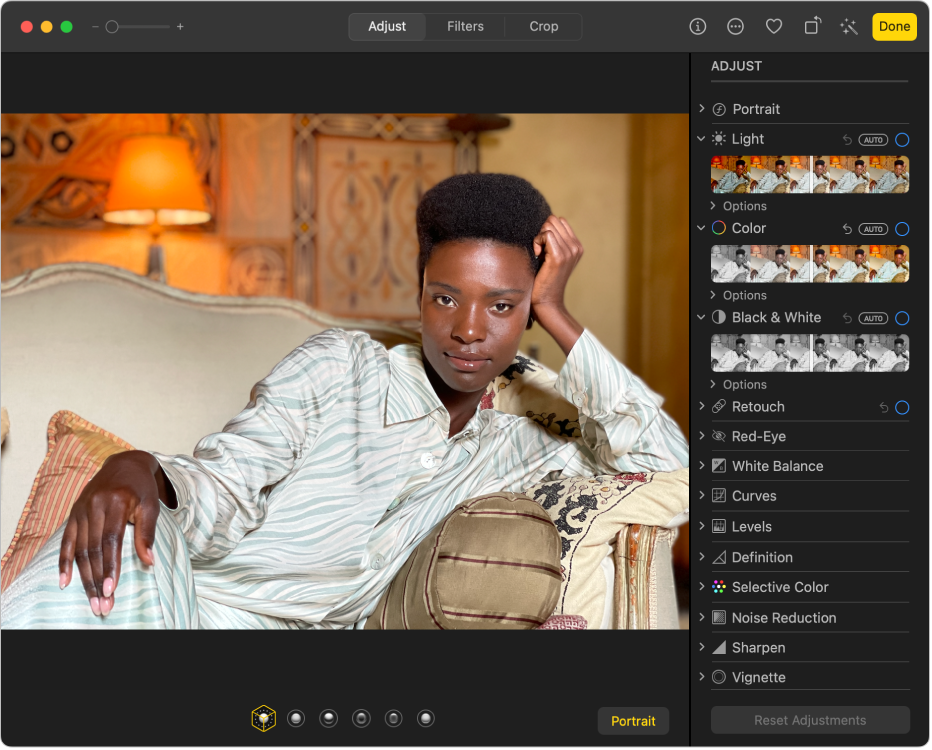
Improve the look of photos
Quickly brighten photos, adjust color, and more. Double-click a photo, then click Edit in the toolbar. Click the arrow ![]() next to Light or Color, then drag the slider to get the look you want—or click Auto above the slider and let Photos do it for you.
next to Light or Color, then drag the slider to get the look you want—or click Auto above the slider and let Photos do it for you.
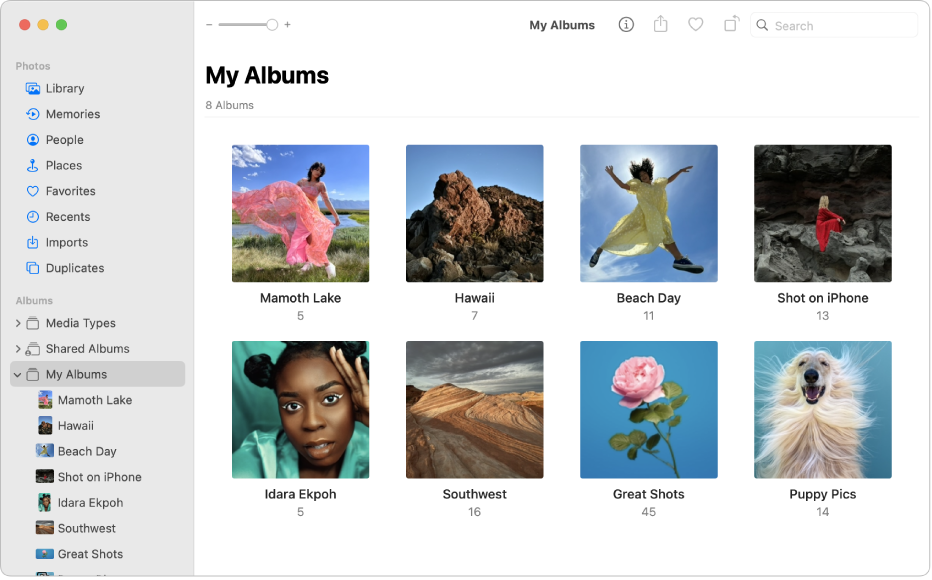
Organize photos in albums
Create albums to organize your photos your way. Choose File > New Album, type a name for the album, then press Return. To add photos to the album, click Library in the sidebar, then drag photos to the new album in the sidebar.
Want to learn more?
