Get started with accessibility features on Mac
macOS includes many accessibility features to support your vision, hearing, and physical motor needs, and more. If you didn’t turn on the features when you set up your Mac, you can do so at any time in Accessibility settings.

On your Mac, choose Apple menu

 in the sidebar. (You may need to scroll down.)
Open Accessibility settings for me
macOS accessibility features are grouped by category on the right:
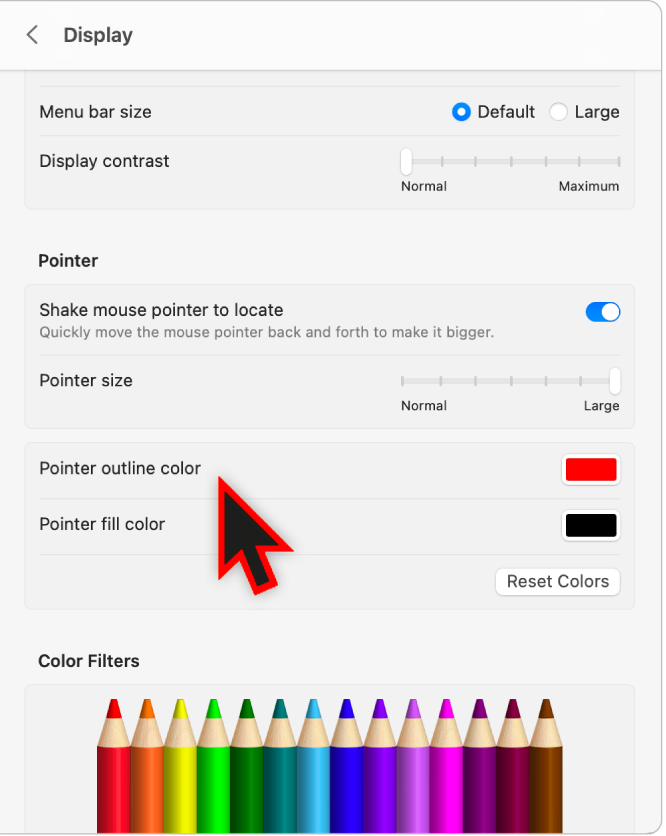
Vision: Use these features to zoom in on the screen, make the pointer or menu bar bigger, apply color filters, and more. Or have your Mac speak what’s on the screen. See macOS accessibility features for vision.
Hearing: Use these features to show and customize captions on the screen, make and receive Real-Time Text (RTT) calls, get live captions of audio, and more. See macOS accessibility features for hearing.
Note: Live Captions (beta) is only available on Mac computers with Apple silicon, and is not available in all languages, countries, or regions. The accuracy of Live Captions may vary and should not be relied upon in high-risk or emergency situations.
Motor: Use these features to control your Mac and apps using spoken commands, keys on your keyboard, an onscreen keyboard, the pointer, or assistive devices. You can also set options that make it easier to use a mouse and trackpad. See macOS accessibility features for mobility.
General: Use these features to easily turn various accessibility features on or off, and to type your Siri requests. See macOS general accessibility features.
